Getting Started
This guide will help you get your PictoStick up and running for the first time.
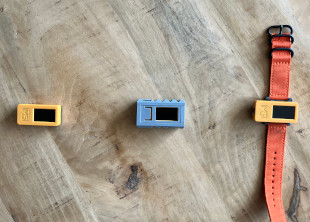
What’s in the Box
When you acquire the PictoStick, you should have the following items:
The M5Stack StickC Plus2 device, which is the core of the PictoStick.
A USB-C cable for charging and programming the device.
An optional wristband, allowing the device to be worn like a watch.
First-Time Use
The first time you turn on the PictoStick, it will need to be configured to connect to your local WiFi network. This is a one-time setup process that allows the device to synchronize the correct time and date, which is crucial for displaying the daily schedules correctly.
Power On: Press and hold the side power button (Button A) for about 6 seconds to turn the device on.
Enter WiFi Setup: The device should automatically start in WiFi Configuration mode. If it doesn’t, a caretaker can manually enter this mode.
Connect from Phone/Computer: Follow the on-screen instructions to connect your phone or computer to the “pictodevice” WiFi network.
Configure: Once connected, a configuration portal will appear in your web browser. Select your home WiFi network (SSID) and enter its password.
For a detailed walkthrough of this process, please see the Initial Setup manual.
Charging the Device
The PictoStick is powered by an internal rechargeable battery.
To charge the device, connect the provided USB-C cable to the port at the bottom of the device and plug the other end into a standard USB power adapter or a computer.
A battery indicator is visible in the top-right corner of the screen during normal operation, showing the current charge level.
A full charge will typically take 1-2 hours. To conserve power, the device screen will automatically turn off after a short period of inactivity. Press Button A to wake it up.